Connecting to printers from OSX 10.6 (Snow Leopard) through 10.11 (el Capitan) or 12 (Sierra)
If you are using OSX 10.5, use these directions instead.
The following directions apply to Macs running OSX 10.6 (Snow Leopard) through OSX 10.9 (Mavericks).
NOTE: If you are a faculty member, the printing preferenes on your university-owned machine may be managed by IT. If you are not able to complete the following directions, contact the HelpDesk for assistance in adding an additional printer.
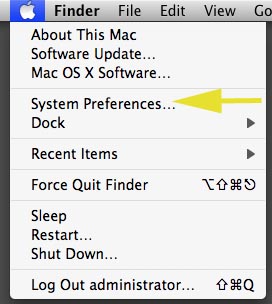
1. From the apple menu, choose System Preferences.
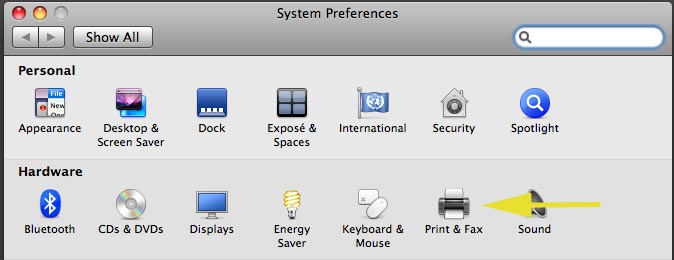
2. Choose print & fax. Note: newer MAC o.s. might be Printers & Scanners or Print &Scan
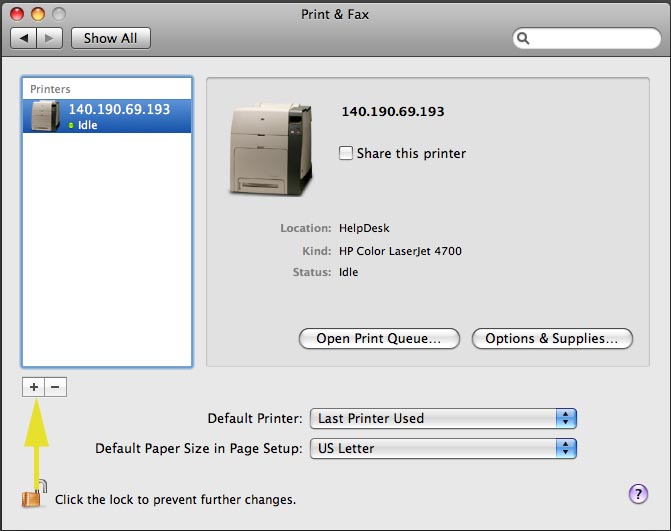
3. Press the (+) sign.
4. Right click or hold the "Control" key and click on the blank space next to windows, and choose "Customize Toolbar".
5. Drag the Advanced Icon onto the blank space, and press done.
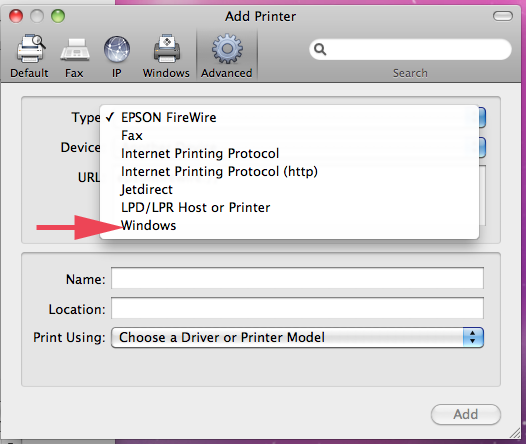
6. Select the advanced tab, and from the drop down menu, choose Windows.
7. In the URL box, enter the name of the printer after smb://oberon/
Also enter the name in the "name" field, and press add.
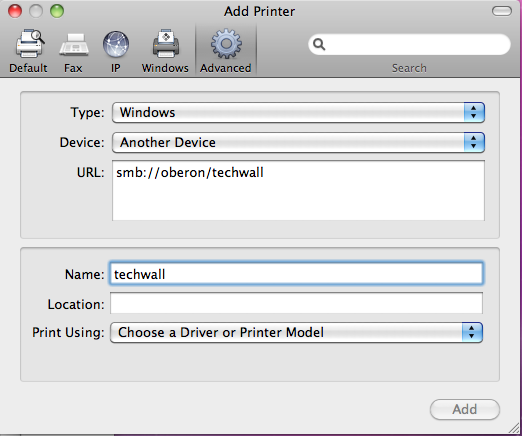
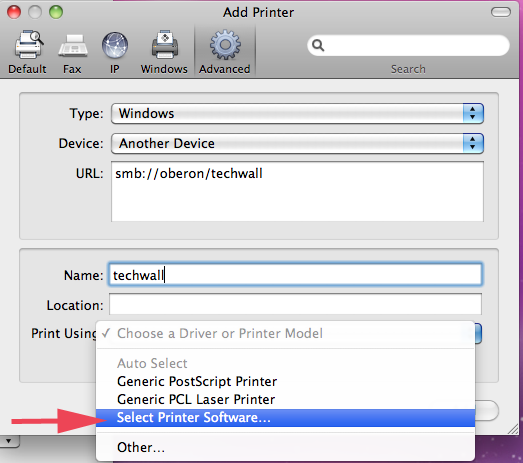
8. From the print using drop down box, select "Select Printer Software"
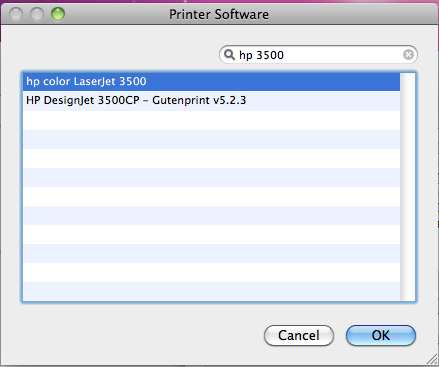
9. Select the model of the printer. If you do not know this information, contact the helpdesk for assistance. Press OK.
NOTE: You must have Apple's HP printer driver package installed before you will be able to add most university printers. The package can be downloaded from Apple's support page.
10. Press add, at this point you may be prompted to authenticate. Choose registered user and enter smumn\ in front of your user name as shown, and connect. You may choose "Remember this password in my keychain"
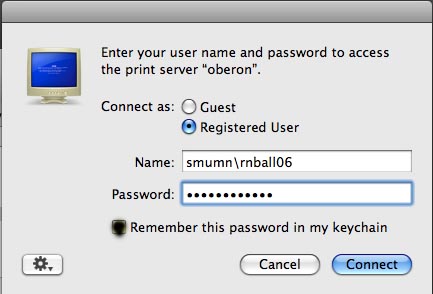
*NOTE: If this message does not appear, open the print queue, and press the "play" button and then it should prompt you to authenticate to the network.