How do I Approve an Event Request on Astra?
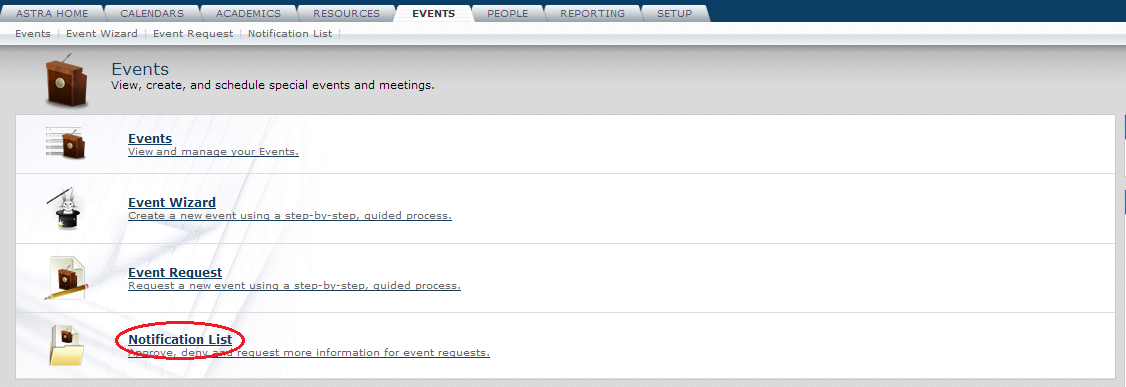
Open the “Events” tab. Go to the bottom and click on the ”Notification List”.
On the filter on the left hand side, select “event requests” for the type. Set “is notification” as “no.” Select “yes” for the “Is Active” line. This allows your request to come to the top instead of having to look through pages of reservations.
Click on the search button (at the bottom left of the page).

The requests with the colored icons need to be approved/declined or need more information will come up.
Click on the light blue magnifying class icon. This will show you information needed for the approval process. Make note of the information on this page or print it as you will need to fill in this same information during the approval process. To leave this page, click on the X (top right) or use the blue back button at the very top left hand side of your screen.

Check to make sure the request will work for your building and/or room.
You can approve the request by clicking on the green √ icon, decline the request by clicking on the red ø icon, or request more information by clicking on the darker blue icon. If you decline a request a box will come up in which you should let the requester know why you declined the request. If you clicked on the i button because you need more information, a box will appear in which you can type a message to the requester asking for the information you need.
![]()
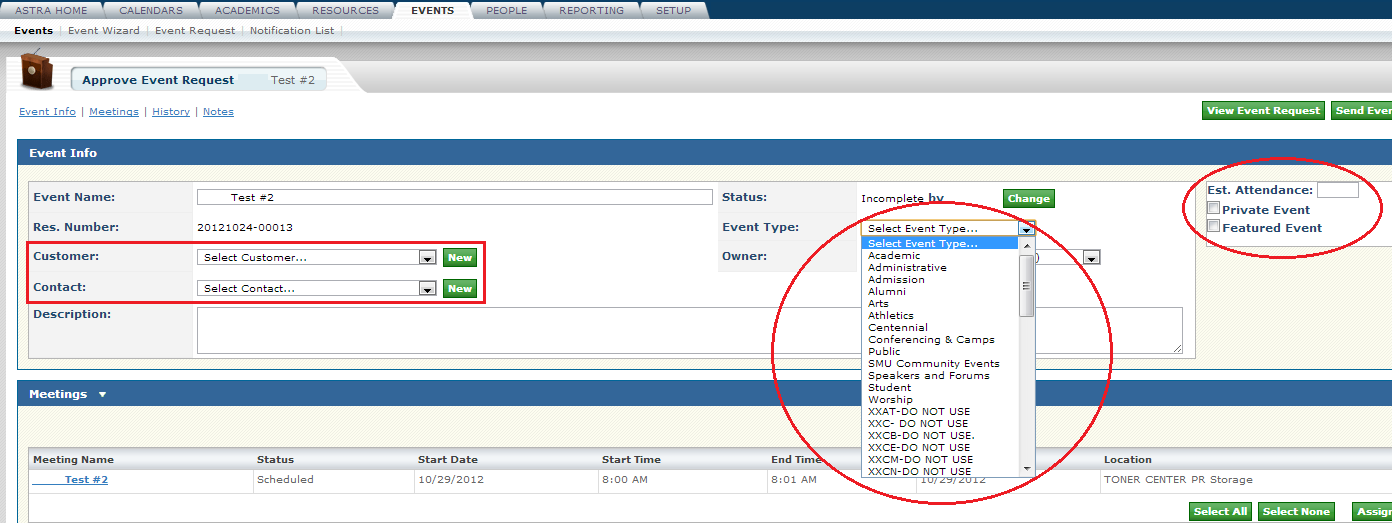
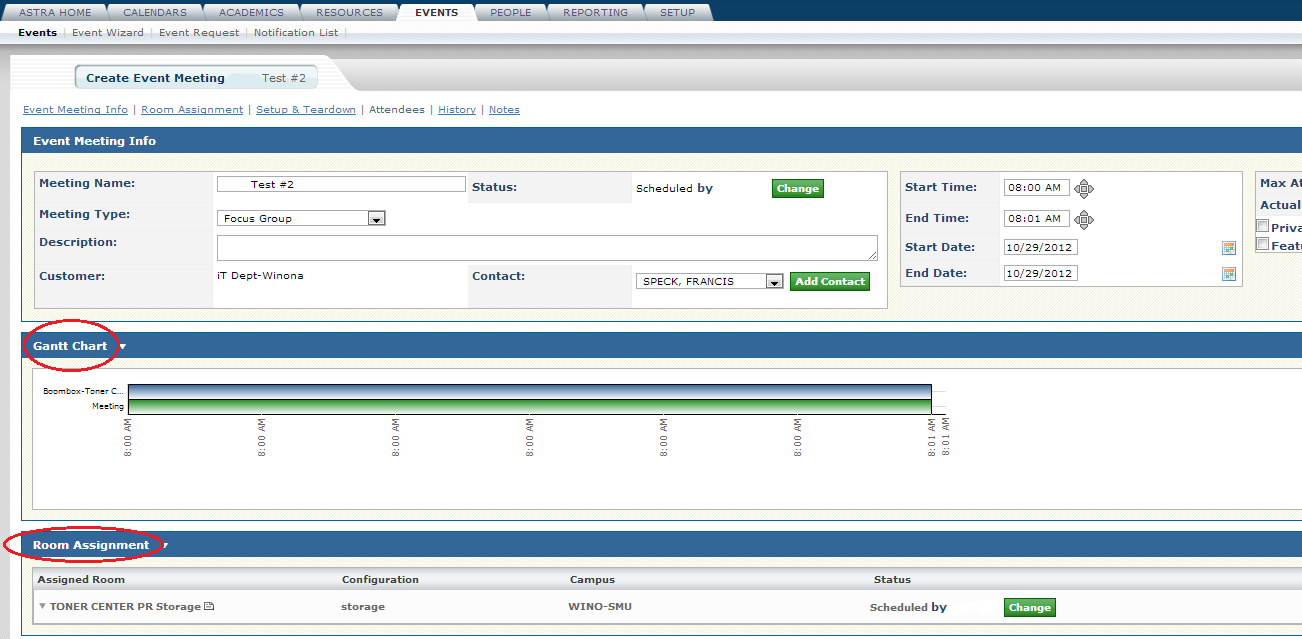
If you approve the request, a page will appear with a box for optional email confirmation comments. You can either put in a message to the requester or skip this and select “approve”. From there you will be in a page called EVENT INFO. This is where you will need to fill in the information gathered from the first step.
- Check to make sure the event or organization name is spelled out and acronyms are not used. Also make sure there is a descriptor in the event title such as practice, game, rehearsal, performance, class, reception, etc.
- Select the correct “customer” (dept or organization from the drop down list).
- Select the correct “contact” name from the drop down.
- Check the event type to make sure it is correct. It should populate from the original request. Do not use the "XXX-Do Not Use" selections.
- “Owner” refers to the approver (you).
- Make sure there is a number in the estimated attendance box. This is important for reports.
- Make sure the time in the request is the actual event time. If they have requested setup or teardown time, you can enter this as an edit later in the process.
- Do not check “Featured” or “Private” unless you want the event on the SMU online public calendar (featured) or if you do not want anyone else to know what the event is (private). In most cases both of these should remain unchecked.
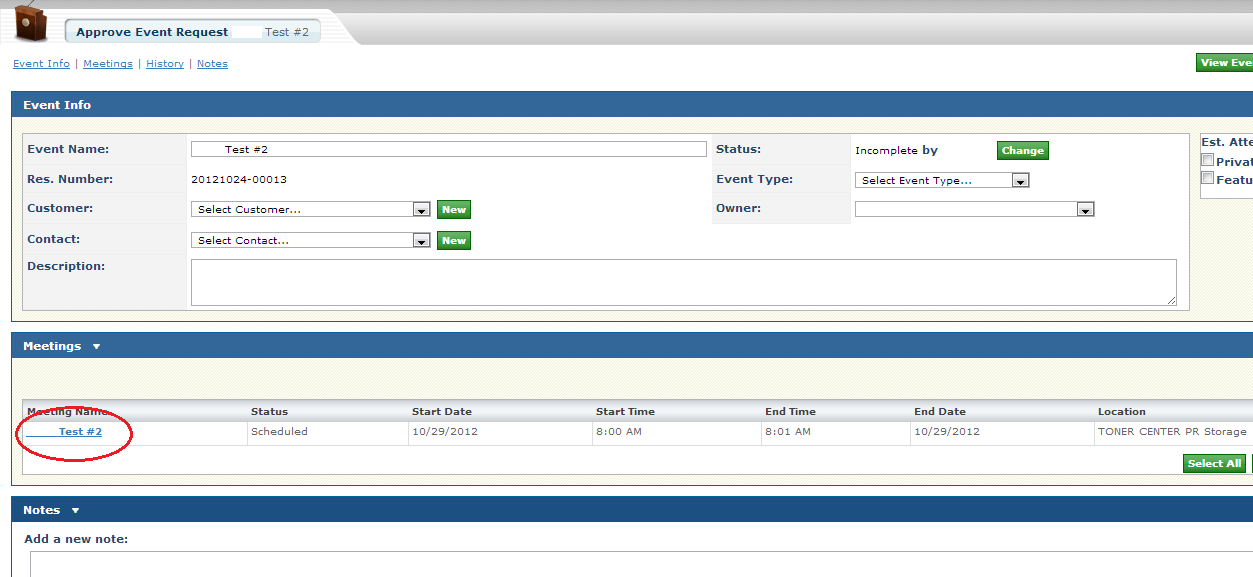
In the blue MEETINGS box a little further down on the page, click on the event name that will appear in blue. This takes you to the place where you can enter details for this event.
The Gantt Chart will show you any resources selected. You need not do anything under this section.
The next section is “Room Assignments”. You can add or change rooms selected. Under the “Resource Assignment”, select any resources requested. Resources are equipment and services. You may need to filter these resources using the grey filter button.
You can select any resource by clicking on the name of the resource or the right column “Available”. A number may appear telling you how many items are available. Select the number you need and click on “save”. If no number comes up there is only one. If the resources you need are pink, it means all of this particular item is unavailable. In the upper right hand corner, select “Assign”

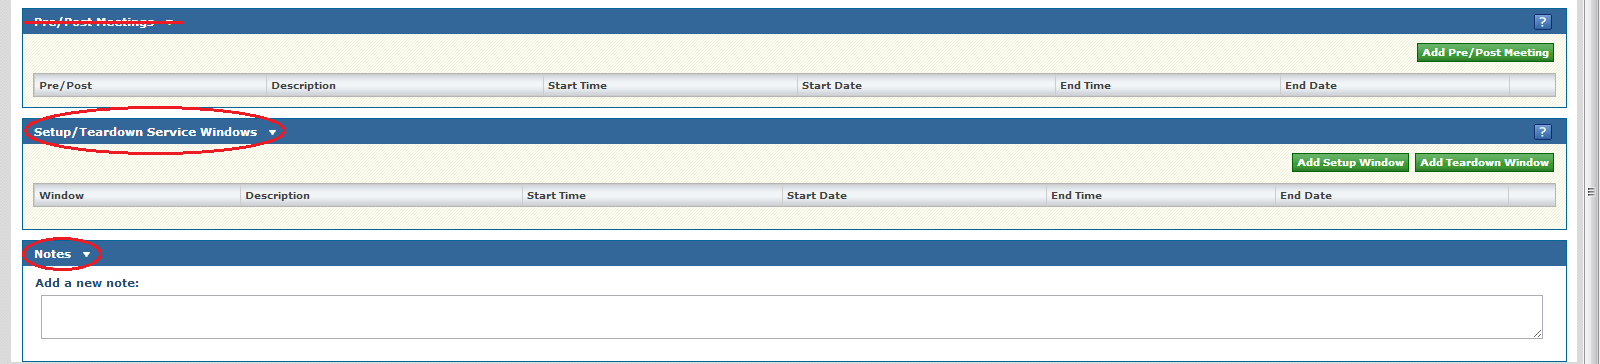
You can skip the “Pre/Post” section.
The next section is “Setup/Teardown”. Enter setup begin time. End time must be before the event start time. Enter teardown time. Teardown time must begin after the event end time. If you do not have any setups, you can skip this section.
The next section is “Notes”. Here you need to enter any setup instructions or notes to others about this event, i.e. food service, campus safety, iT.
Check the “Status” box at the top of this page. If it does not say approved, click on the change button, select “approved”, apply and save. If another “Save” button is showing at the top of the page, click on Save” again.
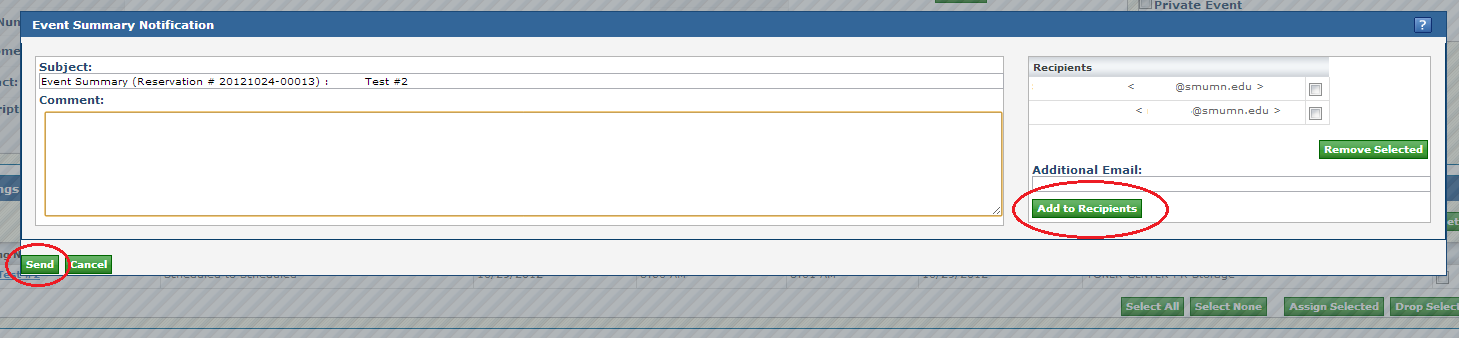
On the next page, select “Send Event Summary” which is a green tab at the top. The requester’s name should be populated from the event request.
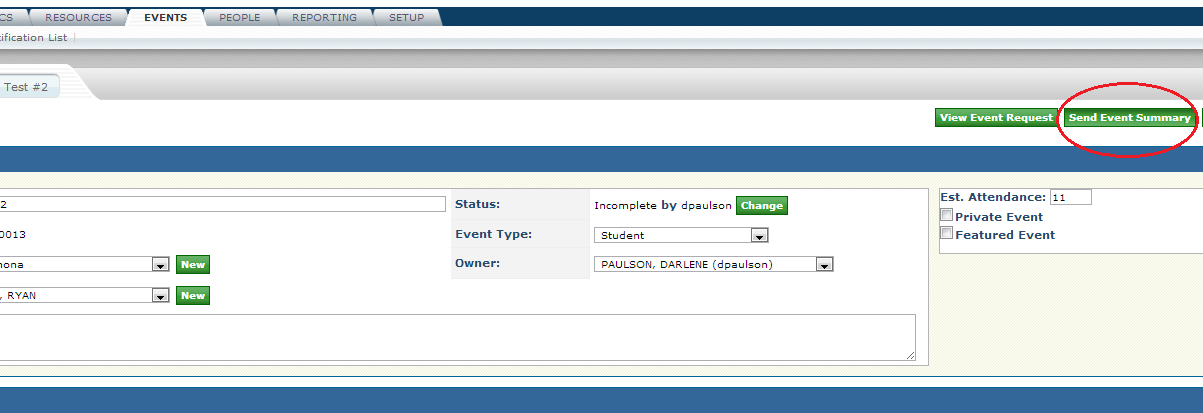
At this point you will need to enter any other people’s email that you want to get this event information, i.e., food service, campus safety, IT, etc. Click on ”add to recipients” Click on “Send” (lower left hand corner).